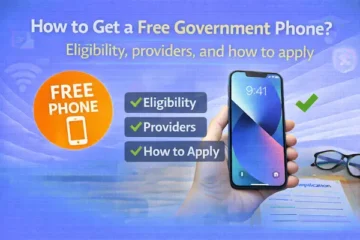
Lifeline Application: Eligibility, Documents, and Steps
Lifeline is a federal program that can lower your monthly phone or internet bill if you meet certain eligibility rules.
If you’re trying to stretch your budget, stay connected for work or school, or keep a reliable line for health and safety, Lifeline may qualify you for a meaningful monthly discount.
- Eligibility: You may qualify by income or by participating in certain government assistance programs.
- Benefits: The benefit is usually a monthly discount applied to an eligible service plan, and the exact offer depends on your state and provider.
- Documents: You’ll typically need proof of identity, your home address, and proof of income or program participation.
- How to apply: You generally confirm you qualify first, then sign up with a participating company.
Notice: This content is independent and informational.
We are not affiliated with, endorsed by, or in control of the FCC, USAC, or any phone or internet company mentioned.
Program rules and provider offers can change, so your results may depend on your state and provider.
Lifeline application: what it covers and what it does not
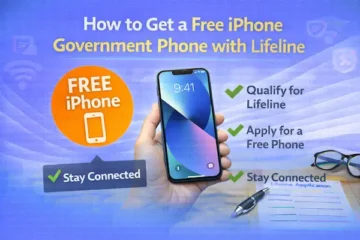
A lifeline application is a request to confirm you qualify for a monthly communications discount, not a guarantee of a specific phone model or a specific plan.
In other words, Lifeline is designed to make service more affordable, while the device and plan details depend on what participating providers offer where you live.
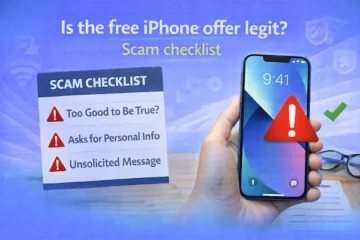
Some people call this a “government phone” benefit, yet the program itself focuses on the discount applied to an eligible service.
If you see ads promising a “free phone,” treat them like any other promotion and read the fine print, because offers can vary widely by company and state.
Also keep in mind that you can usually apply the benefit to either a phone service or an internet service (or an eligible bundle), but you can’t stack multiple Lifeline discounts in the same household.
Lifeline application eligibility requirements: lifeline income eligibility and lifeline qualifications
You may meet lifeline eligibility requirements in one of two main ways, which makes the program easier to fit into real life.
First, you can qualify through lifeline income eligibility, which is based on your household size and income threshold.
Second, you can qualify through lifeline qualifications tied to participation in certain government assistance programs.
That’s why it helps to think of eligibility as a “two-lane road,” because you only need one lane to apply.
Eligibility path at a glance
| How you may qualify | What it means | Typical proof |
|---|---|---|
| Income-based | Your household income is at or below the program threshold for your area and household size. | Tax return, pay stubs, or another approved income document. |
| Program-based | You (or someone in your household, depending on the program rules) participates in an approved assistance program. | Benefit letter, approval notice, or official document showing active participation. |
Income-based Lifeline requirements
If you’re qualifying through income, the key is your gross household income and your household size.
The commonly used threshold is 135% of the Federal Poverty Guidelines, and the exact numbers vary by household size and location.
When you apply, you may be asked to show proof like a recent tax return or other accepted documentation that reflects your income.
If your income changes, it’s smart to keep your paperwork organized so you can respond quickly if you’re asked to verify.
Program-based lifeline qualifications
If you qualify through a program, your eligibility usually depends on active participation in an approved assistance program.
Common qualifying programs can include Medicaid, SNAP, SSI, Federal Public Housing Assistance, and Veterans Pension and Survivors Benefit, but the final list and how it’s applied can depend on program rules and your state.
Because paperwork formats differ by agency, you’ll want your document to clearly show your name, the program name, and a relevant date.
If you’re unsure which path is easiest, compare what documents you already have in hand before you start the lifeline apply process.
Qualifications for government phone: what you should expect
Qualifications for government phone searches are usually about getting a free device, but the most reliable expectation is the Lifeline discount itself.
Some participating wireless companies may offer a discounted or promotional device, yet that offer is not universal and may change by location, plan, or inventory.
So if your goal is to apply for lifeline cell phone service, focus first on eligibility confirmation and then compare provider offers.
Once you’re approved, you can pick a company whose plan and device terms fit your day-to-day needs, like coverage, hotspot rules, and data speeds.
That’s also why people who search “lifeline requirements” often get better results when they separate program rules from provider promotions.
Key Rules you must follow after you’re approved
The most important Lifeline rules are simple, but they matter, because breaking them can lead to losing the benefit.
- One per household: Only one Lifeline benefit is allowed per household, not per person.
- Recertification: You must confirm you still qualify when asked, and this is commonly done through an annual recertification process.
- Truthful information: You must provide accurate information on your application and related forms, because false statements can cause de-enrollment and other consequences.
- Keep info updated: If your address, household, or eligibility changes, you may need to update your provider or program records.
- Use the service: If your Lifeline service is free, you generally need to use it at least once within a set period to avoid disconnection.
If you’re ever unsure, treat these rules as your “stay-in-good-standing checklist,” because they protect you from surprises later.
Required Documents for a Lifeline application
You can speed up a lifeline application by gathering your documents first, because missing proof is one of the most common reasons applications get delayed.
Think of this as building a clean, easy-to-verify file that matches your legal name and your current home address.
Required Documents checklist
- Identity proof: A valid document that shows your name and date of birth, such as a state ID, driver’s license, or other accepted ID.
- SSN or Tribal ID: Often the last four digits of your Social Security number or a Tribal ID number, depending on what applies to you.
- Proof of address: A document that supports your physical home address, especially if your address is hard to verify automatically.
- Proof of eligibility: Either income documentation (like pay stubs or a tax document) or proof of program participation (like a benefit letter).
- Consistency checks: Make sure your name and address are written the same way across documents to avoid preventable errors.
If you’re applying for a household with multiple people at the same address, be prepared to answer household questions carefully, because the one-per-household rule is strictly enforced.
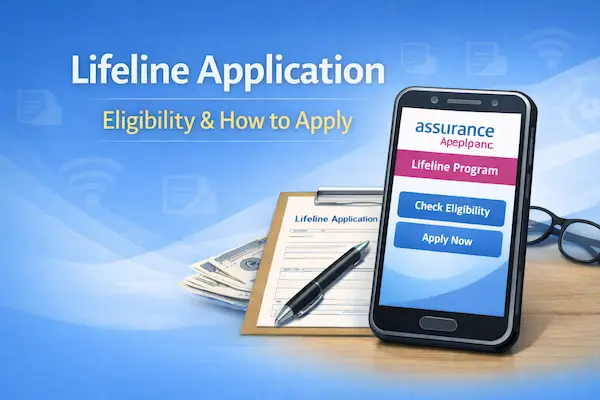
Lifeline application: How to Apply step by step
You can usually complete the lifeline application online, by mail, or sometimes with help from a participating company, depending on your state.
For the cleanest experience, follow this exact order, because it keeps your eligibility proof and provider choice aligned.
- Confirm your eligibility path: Decide whether you’ll qualify by income or by program participation, based on what documents you can provide.
- Collect your documents: Put your ID, address proof, and eligibility proof in one folder so you can upload or copy them easily.
- Submit your application: Apply online if available, or complete a paper form and send it with copies of your documents if you prefer mail.
- Watch for verification requests: If your information can’t be confirmed automatically, respond quickly with the additional documentation requested.
- Choose your provider: After you qualify, pick a participating phone or internet company and sign up for service.
- Start service and stay compliant: Use the service as required and be ready to recertify when asked.
If you want a guided walkthrough with screenshots and tips, use our How to Apply page and follow it step by step.
When you’re searching phrases like “lifeline apply” or “lifeline application,” this is the flow you’re trying to replicate in the simplest way possible.
If your goal is to apply for lifeline cell phone specifically, remember that approval confirms the discount, and the wireless plan and device terms come from the provider you select.
Companies Near Me: picking a provider that fits your life
The fastest way to reduce frustration is to compare providers first, because coverage and plan terms vary by state and by company.
Use our Companies Near Me page to see participating options available in your area and filter for phone, internet, or bundled service.
If you’re searching “assurance wireless apply,” treat it as a provider-specific enrollment interest, while keeping your eligibility verification steps the same.
Even when a company advertises a phone offer, you’ll still want to confirm what’s included, whether there are shipping fees, and what happens if you miss required usage or recertification steps.
Before you commit, ask about network coverage, data limits, hotspot availability, and what support looks like if your device is lost or your SIM needs replacement.
Common issues that can slow down your Lifeline application
Most delays happen for predictable reasons, so you can avoid them by doing a quick “accuracy sweep” before you submit.
- Name mismatch: Your application name doesn’t match your ID or benefit letter exactly.
- Address confusion: Your mailing address and physical address are mixed up, or you live in multi-unit housing without a clear unit number.
- Unclear documents: Photos are blurry, pages are cut off, or the date is missing from a benefit letter.
- Duplicate household benefit: Someone at your address already receives Lifeline, triggering a one-per-household review.
- Outdated proof: You submit documents that don’t meet the recency or content rules for verification.
If something comes back as an error, don’t panic, because it often just means you need to submit clearer proof for manual review.
Keeping your discount: recertification and staying eligible
Once you’re enrolled, staying qualified is mostly about responding on time and keeping your information accurate.
An annual recertification process is commonly used to confirm you still meet the eligibility requirements.
If you move, change your name, or no longer qualify through income or program participation, update your information quickly to avoid future problems.
To keep everything organized in one place, you can also use My Benefits as a simple way to track your next action and key dates.
When you follow the rules and keep your documents handy, Lifeline becomes less stressful and more like a dependable monthly relief.